Cheap & Easy: How to "Stain" Unfinished Wood

Let's face it: crafting of any kind can get expensive. Whether it's woodworking or painting the costs can add up. So when I came across a pin on Pinterest that inspired me to make a crate-shelf for my bathroom, I knew I needed to cut the costs. While I could purchase my crate with a 50% off coupon and the heavy-duty Command Strips weren't a big deal to my project budget, being a broke stay-at-home mama of one, a $15 can of stain for a single project just wasn't going to cut it. Not to mention the fact that I've worked with stains before and I'm not fond of having brown fingers for days... and yes, I was wearing gloves. Don't ask me how my fingers still ended up turning brown in spite of using gloves.
So when I heard of a way to darken wood without the use of a wood stain, I was ecstatic. Not to mention it was so simple of an idea, I was actually afraid it was too good to be true. But it wasn't! And the best part: It only cost me about a dollar to make!
So how did I do it? Simple!
Materials:
For this project, you will need a few things:
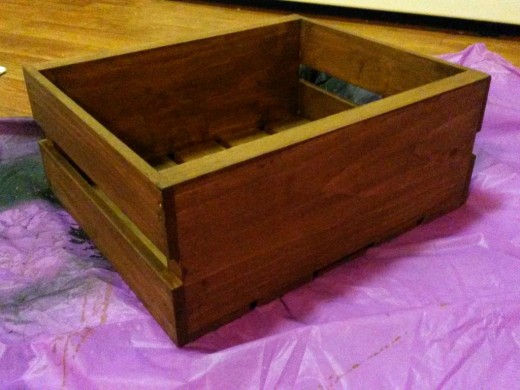
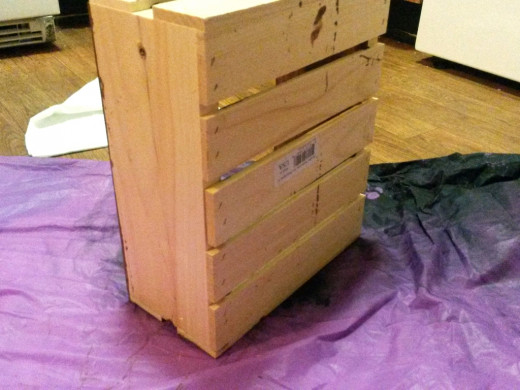
- Something to stain. I applied my stain to an unfinished wood crate that I got for about $6 after I used a 50% off coupon. (Please note that I have never tried this project on any other kind of wood, so I cannot guarantee that this project will work on everything!)
- Sandpaper. This is optional, but I can guarantee you it makes the process so much easier. I learned the hard way. Splinters in your brush (or your fingers) are no fun! Speaking of which...
- A sponge brush or an old sock. I personally prefer a sponge brush, but only because I live in an apartment, where "getting messy" is not generally a good idea.
- Acrylic craft paint in your desired shade. THIS IS WHAT YOU WILL USE TO MAKE YOUR "STAIN"! (Note: I would buy a name-brand like Apple Barrel or Folk Art. Store-brand craft paints tend to be watery and cheap.)
- Water. THE OTHER INGREDIENT IN YOUR "STAIN"!
- Drop Cloth (optional). Even though I used a sponge brush, this is still a fairly messy craft. If you're doingi
Step 1: Make Your "Stain"
This part of the project is actually the hard part... if by hard you mean, "requires more steps than other parts". Really all you have to do is mix your paint with a bit of water. I recommend mixing one parts water to two parts paint for best results. Though I didn't mention this in the materials, I also recommend using either a paint stick or a plastic spoon to mix your stain instead of your sponge brush. This keeps your brush from getting too saturated with stain.
Some of you may want to do what I did and get creative and mix different colors of paint to get your own unique shade. One lesson learned (the hard way, of course): If you go this route, be sure to mix enough stain to cover your whole project! It is almost impossible to make more of the exact shade of stain if you run out.
Step 2: Apply Your "Stain"
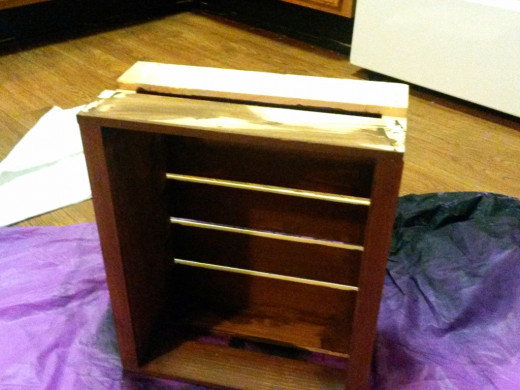
Use your sponge brush or sock (for you more adventurous folk) to apply your stain to your wood. You will need to apply the stain as evenly as possible for a uniform appearance.
Depending on how dark you want your wood, you may need to apply more than one coat. If you need to do this, allow the first coat to dry before applying another. Through trial and error I learned that some of these stains dry lighter while others dry darker. Your stain may look a different shade when wet than when dry.
As I said earlier, I personally recommend sanding your wood for this part of the project to avoid splinters. If you choose to do this step, I would suggest doing this before starting Step 1. Acrylic paint dries fairly quickly, and even though water is added in, it does not slow down the drying process.
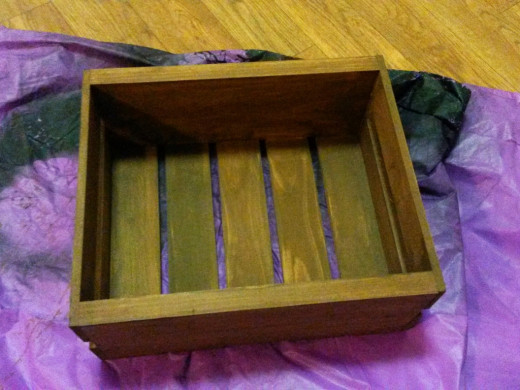
Step 3: Let Dry and Marvel at Your Awesome Handiwork
Now I know what you're thinking: "Sarah! That can't be all I have to do! There must be more complicated steps that require extensive time and effort!" Well, allow me to let you in on a little secret: THAT'S REALLY IT! I wan't joking when I said cheap and easy. Not only that, but since acrylic paint dries fairly quickly, you don't have to wait too awful long to display your project!
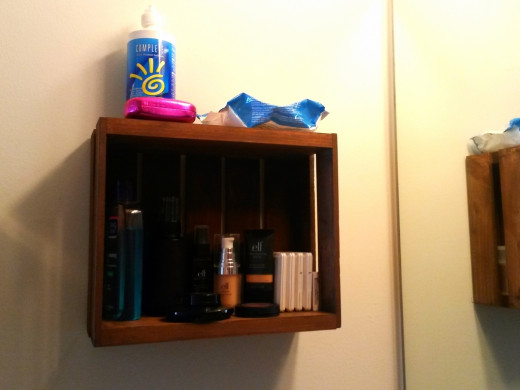
Since I made a crate shelf, I hung my beautiful masterpiece in my bathroom and put it to use right away! I use it to house my eye-shadows and blushes, primers and cleansers, and of course supplies for my set of eyes... or in other words: contacts.
So I guess the ultimate question now is: Where are you going to display YOUR awesome piece of handiwork?
- http://sarahwfrank.com/2015/05/15/bath-diy-part1/
This project was actually a part of a larger redecorating project for my tiny master bath. To see the whole project just visit this link!
© 2015 Sarah W Frank


